Tuesday 29 April 2008

Self-Imposed Exile

There are periods where I get so engrossed in my work that no-one sees me in any other part of the house, just the work room. My wife begins to believe I am just a figment of her imagination.
When I emerge much later with more than just a five o'clock shadow, and only then because I've finished something, there is cheering on both sides. Me because I have finished something and my wife because she isn't really insane and I do actually exist.

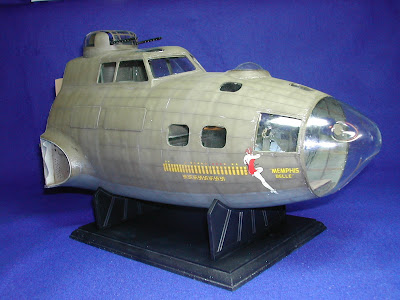
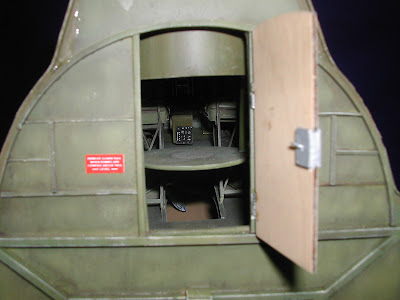
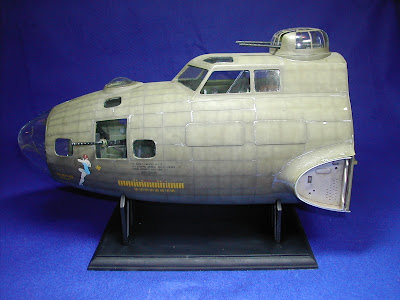
The last round of seclusion was quite productive. First came the AFV Tiger in 1/48 scale. Then, the Classic Airframes SM.79, also in 1/48, and finally the B-17 nose section in 1/18th from MPM. Almost four months work.

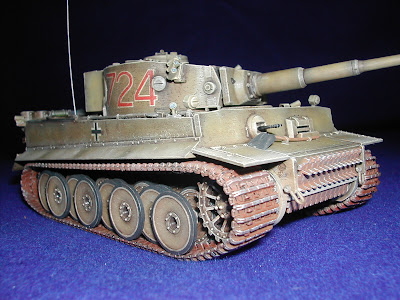
The Tiger was a little gem. The first armoured vehicle I'd built in almost four years was a new release from AFV Club. It's beautifully detailed and includes the photo-etched mesh screens for the engine covers. The quality of the parts is second to none.

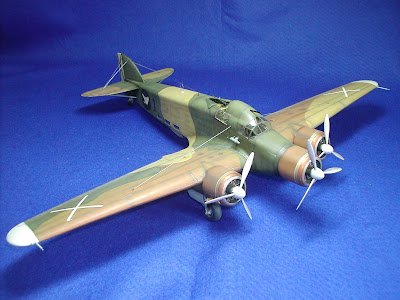
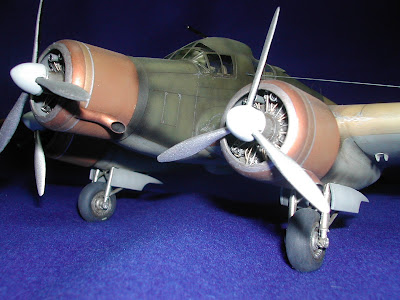
The SM.79 is not a kit for a novice. It does have lovely detail, especially the engines and cockpit, which are mostly resin with photo-etched parts. I brought all my experience to bear building this, but the results of your labours are so worthwhile with a kit like this.


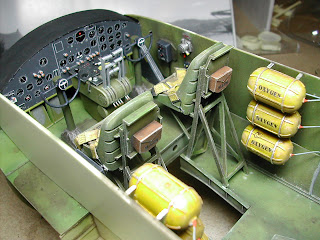
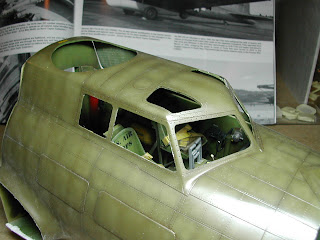
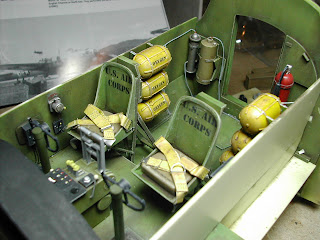
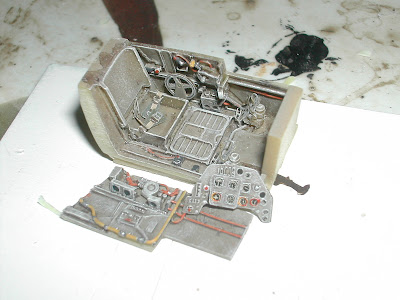
The B-17 from MPM is a fibreglass nose carcass with a mostly cast resin interior and an assortment of photo-etched parts. Another project not to be entered into lightly! It was hard work every day for four months, but the completion of each module, especially the cockpit, brought its rewards. Positioning the interior was a job in itself. A very unusual and indeed educational subject!
Saturday 12 April 2008

ICM's BF 109F

One of my ongoing projects mentioned earlier is now all done and dusted.
I've been hanging on to the photos so I can out them all on here together to show them in sequence.


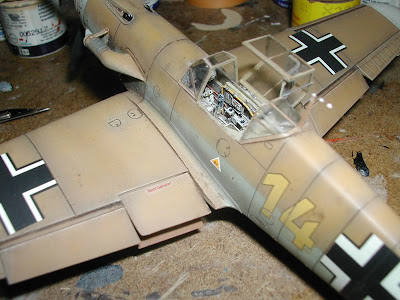
Early on in the build, I decided to replace the kit cockpit with the rather splendid Aires resin version. I think it's made all the difference.
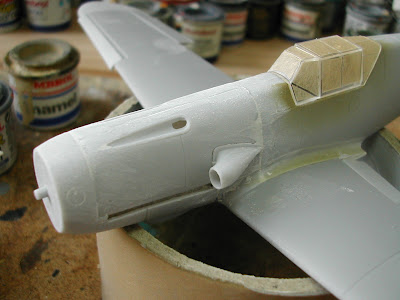
Adding the engine cowling to the model proved quite challenging.

Trimming, filling, sanding and a little sweat gave good results. The main assembly went well on the whole. Even the transparencies - a common problem on some kits - fitted surprisingly well.

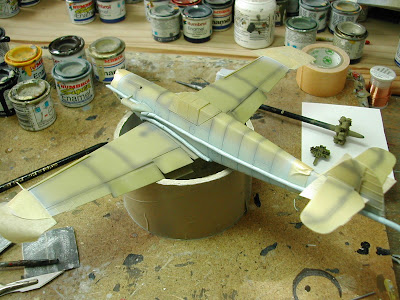
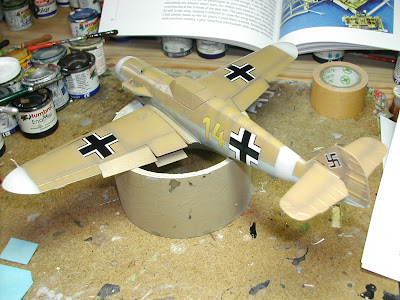
Masking up for the 'sandgelb', I used Xtracolour 79A. The photos show the move from undercoat to pre-shading, from the lower RLM 65 to the upper sand RLM 79. This has all been weathered to show the effect of hectic operations in a harsh environment. Marseille's aircraft, which this model represents, would be no stranger to that.

The kit decals were not good. The distinguishing 14s were the only ones I could use, along with the rudder score board. The rest were from a handy Aeromaster set. All the decals were sealed with a moderate coat of clear varnish. Later, the panel lines were inked in and the balance of the decals, all stencilling, were applied.
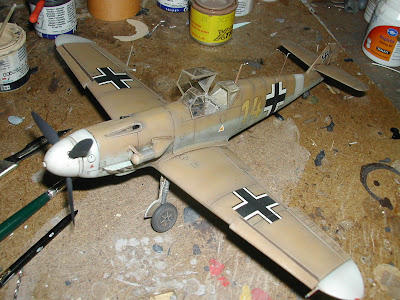
After matting down, the rest of the parts were attached - the landing gear, propeller etc. I decided to have the canopy open to show off the 'front office'.


To finish, I just added the aerial wire and canopy retainer (all stretched sprue) and some insulators (Kristal Kleer).
All in all, it's been a very enjoyable project. Like most kits, it had its foibles. However, it should be more freely available than the Hasegawa version, which could do with a similar update.

Saturday 5 April 2008

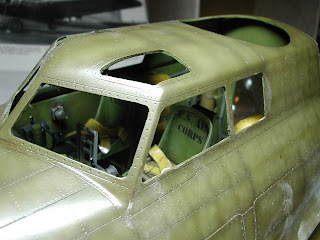
The Nose is coming to a close

The model is now entering its final stages. A dry
run shows the cockpit fitted inside the nose shell, indicating a good fit. It's a little snug, but I think that's an advantage. I'll now move on to the bomb aimer's compartment and its attendant fittings. The windows and the turret will be the last of the big jobs. More later.